
Audio · May 19, 2026
X32-EDIT & M32-EDIT: Control Your X32 From a Computer (Full Overview)
A complete tour of the free X32-EDIT / M32-EDIT software — the channel tabs, mix buses, scenes and show files, and the one sync question that can wipe your console.
For years I avoided showing X32-EDIT on camera. I wanted people to learn the console itself — to see the exact screen on the mixer, not a piece of software that looks nothing like it. But I’ve come around, because the truth is that X32-EDIT and M32-EDIT are genuinely better than the onscreen controls for a lot of work: assignable channel groups, a big routing grid, offline editing, and far fewer pages to click through. If you do serious setup on an X32 or M32, you want this free app on your laptop.
This is the full tour — what every tab does, how mix buses and scenes work, and the one question the software asks that can wipe your entire console if you answer it wrong.
What X32-EDIT Actually Is
X32-EDIT is Behringer’s free desktop application for Mac and PC that mirrors and controls your console. M32-EDIT is the exact same software — the only difference is the darker interface color, so if you have a Midas M32, everything here is for you too. (You’ll see me using M32-EDIT in the walkthrough below simply because I like the darker look.)
Why reach for it over the console screen or the iPad app? A few reasons that matter in real life:
- User-assignable channel groups — build a custom page with any mix of channels, buses, DCAs, and effects side by side. The iPad app can’t do this, and it’s one of my favorite features.
- A large routing grid that’s far easier to read than the console’s little screen.
- Offline editing — you can build or tweak a show file with no console connected, then upload it later.
- Fewer pages to navigate. Everything is bigger, and a mouse beats thumbing through tabs.
Start From a Clean Slate (Carefully)
If you’ve connected the software to a few different consoles, it accumulates leftover settings. To wipe it and start fresh: Setup → Mixer tab → Initial settings → Mixer. That clears everything out.
Do this deliberately, not by reflex — it erases the current layout. When in doubt, save a scene first (covered below) so you have something to fall back on.
A Tour of the Interface
Down the left side you’ve got your channels. The bottom scroller pages you through 1–16, 17–32, and the DCA groups at the end. DCAs are channel groups — click a channel and assign it to DCA 1 through 8, and now one fader (and one mute) controls the whole group. Below the channels are the aux/USB inputs, the effects returns, and the bus / matrix rows — where the 16 mix buses and 6 matrixes live.
Then there’s the User page — click Edit and you can drop any channels, buses, DCAs, and effects onto one custom layout. Building a page that shows just your worship team’s inputs and their monitor sends, all in one view, is the kind of thing that makes a busy Sunday calmer.
The Channel Tabs (Top Row)
Select a channel and the tabs across the top open up everything about it:
- Mixer — the classic channel-strip overview: gain, inserts, bus sends, gate, compression, EQ, pan, solo, mute, DCA assignment.
- Channel — link/stereo-link two channels so their faders move together, phantom power, polarity, delay, and mute-group assignment. This is also where you can force a channel off the main Left/Right. I always do this on the click track — even if the fader goes up, it’s physically impossible to send the click to the house.
- Config — source routing for the channel. My rule: keep it one-to-one (source input 1 → channel 1). The more places you do routing, the more confusing it gets.
- Gate / EQ — set your gate and EQ; the EQ page gives you a draggable graphic and an RTA so you can see the audio while you shape it.
- Sends — the important one for monitors and streams. Set each send pre- or post-fader, and flip on the global toggle to apply a setting across every channel at once instead of one at a time.
- Main / Effects — assign effects like a precision limiter to a specific output. I’ll drop a limiter on the stream bus (say 7–8) so the audio is protected before it ever leaves the console, and a stereo EQ on the main L/R.
Mix Buses: Your Monitor and Stream Mixes
On the right you’ll see you’re mixing the main Left/Right by default — that’s your house speakers. Click a mix bus (1–16) and everything shifts to mixing that bus instead. That’s how you build a personal monitor for someone on stage, or a dedicated livestream mix that’s separate from the room. Click back to main L/R and it all returns. Learning to jump between buses like this is most of what “building mixes” actually is.
Monitoring, Talkback, and Test Tones
The Monitor section has a couple of settings worth knowing: solo-follows-select and select-follows-solo — so clicking or soloing a channel routes it to your headphones automatically. Talkback lets you set your talkback mic as latch or push-to-talk and choose where it goes, and the oscillator generates test tones — sine tones plus pink and white noise — for tuning a system.
Scenes and Show Files (Don’t Skip This)
This is the part that saves your Sunday. Under the scenes area you’ll find Cues, Scenes, Snippets, and Mixer Safes.
To save your setup: get the console the way you want it, click Save at the top right, name it (e.g. “Sunday Morning”), and add notes if you like. To recall a scene, double-click it — the software confirms before it loads.
Mixer Safes are the underrated feature. On the right you can lock specific things — routing, gains, channel processing, buses, effects — so that when you load a scene, those locked settings don’t get overwritten. If you want scenes to change your mix but never touch your routing, this is how.
And to get a show file onto your computer (for backup or to move between consoles), use Save in the bottom-right of the scenes panel to write the file to disk, and Load to bring one back.
The One Question That Can Wipe Your Console
When you connect, this is the moment to slow down. Go to Setup → Connection, scan, and double-click your console. The software then asks the single most important question in the whole app:
Transfer current settings FROM the mixer TO this computer, or FROM this computer TO the mixer?
Read it twice. Every time.
If your console is already set up and you want to pull it into the software, choose mixer → computer. If you pick computer → mixer while the software is blank, you will overwrite your fully-configured console with nothing — in about one millisecond. I always click the mixer-to-computer option and I always read the dialog twice before clicking. A wiped console five minutes before a service is a genuinely bad day, and it’s entirely avoidable.
Powerful — but Still 32 Channels by Hand
Here’s the honest limitation: X32-EDIT is a fantastic cockpit, but it doesn’t build the mix for you. It’s still 32 channels of routing, naming, coloring, gates, EQ, and bus assignments — done by hand, correctly, before Sunday. And routing specifically from X32-EDIT works differently enough from the console that it’s a whole topic of its own.
That’s where the two tools work together. ShowBuilder generates a complete, loadable show file from a few questions about your gear and team — routing, scenes, faders, channel names, and colors all built for you. You load that file onto the console (or into X32-EDIT) and use the software to fine-tune from there. Build with ShowBuilder, refine in X32-EDIT.
Scroll the steps →
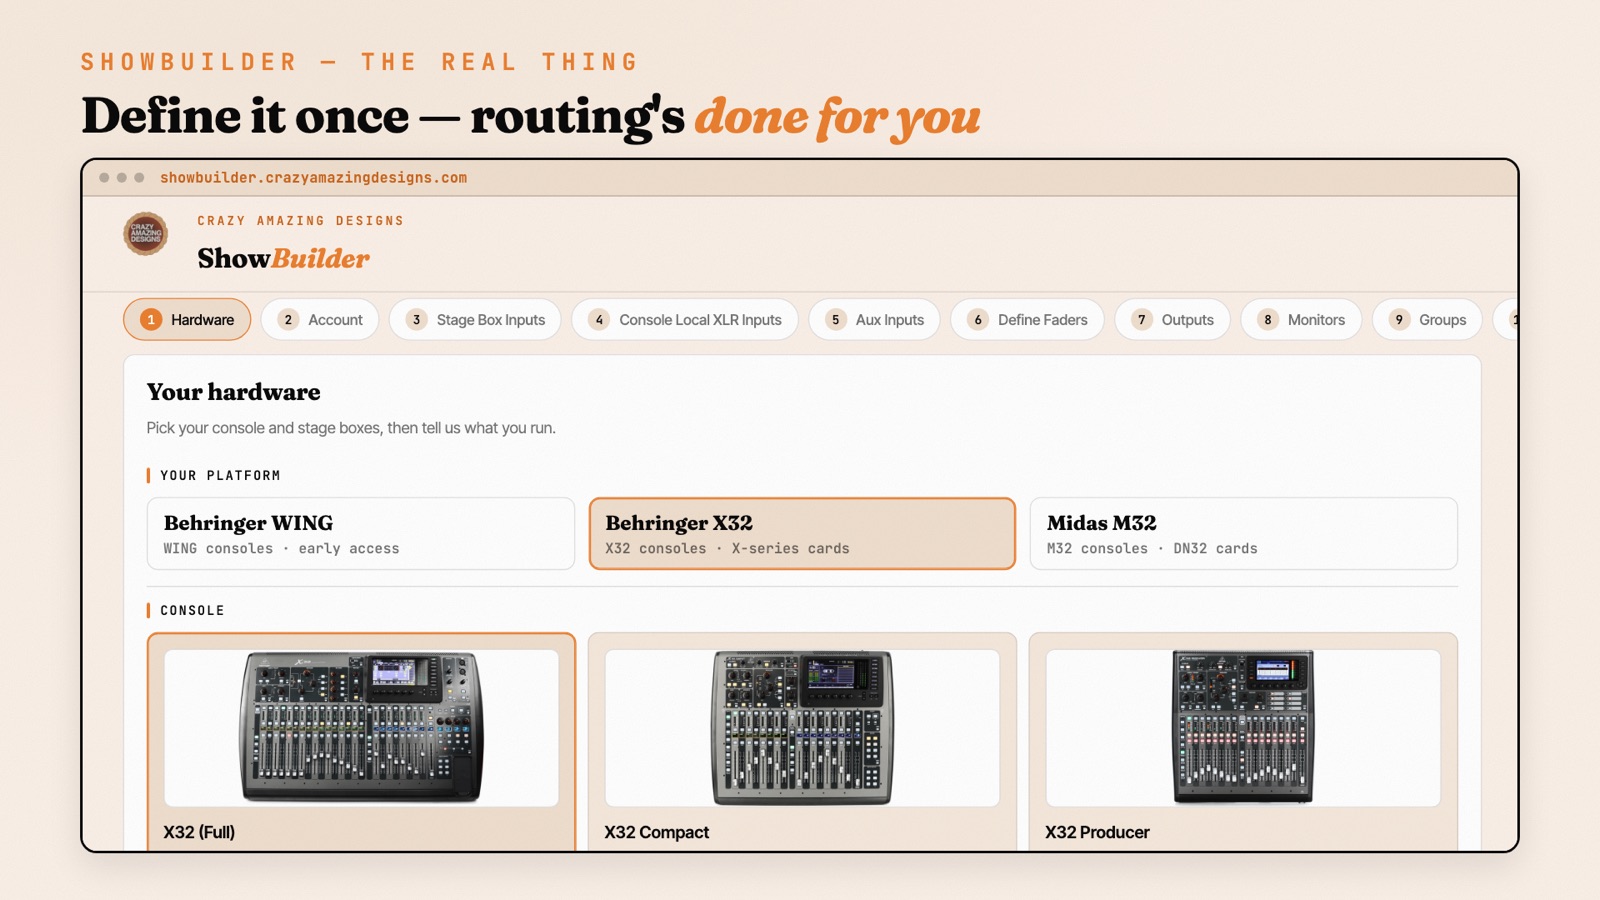
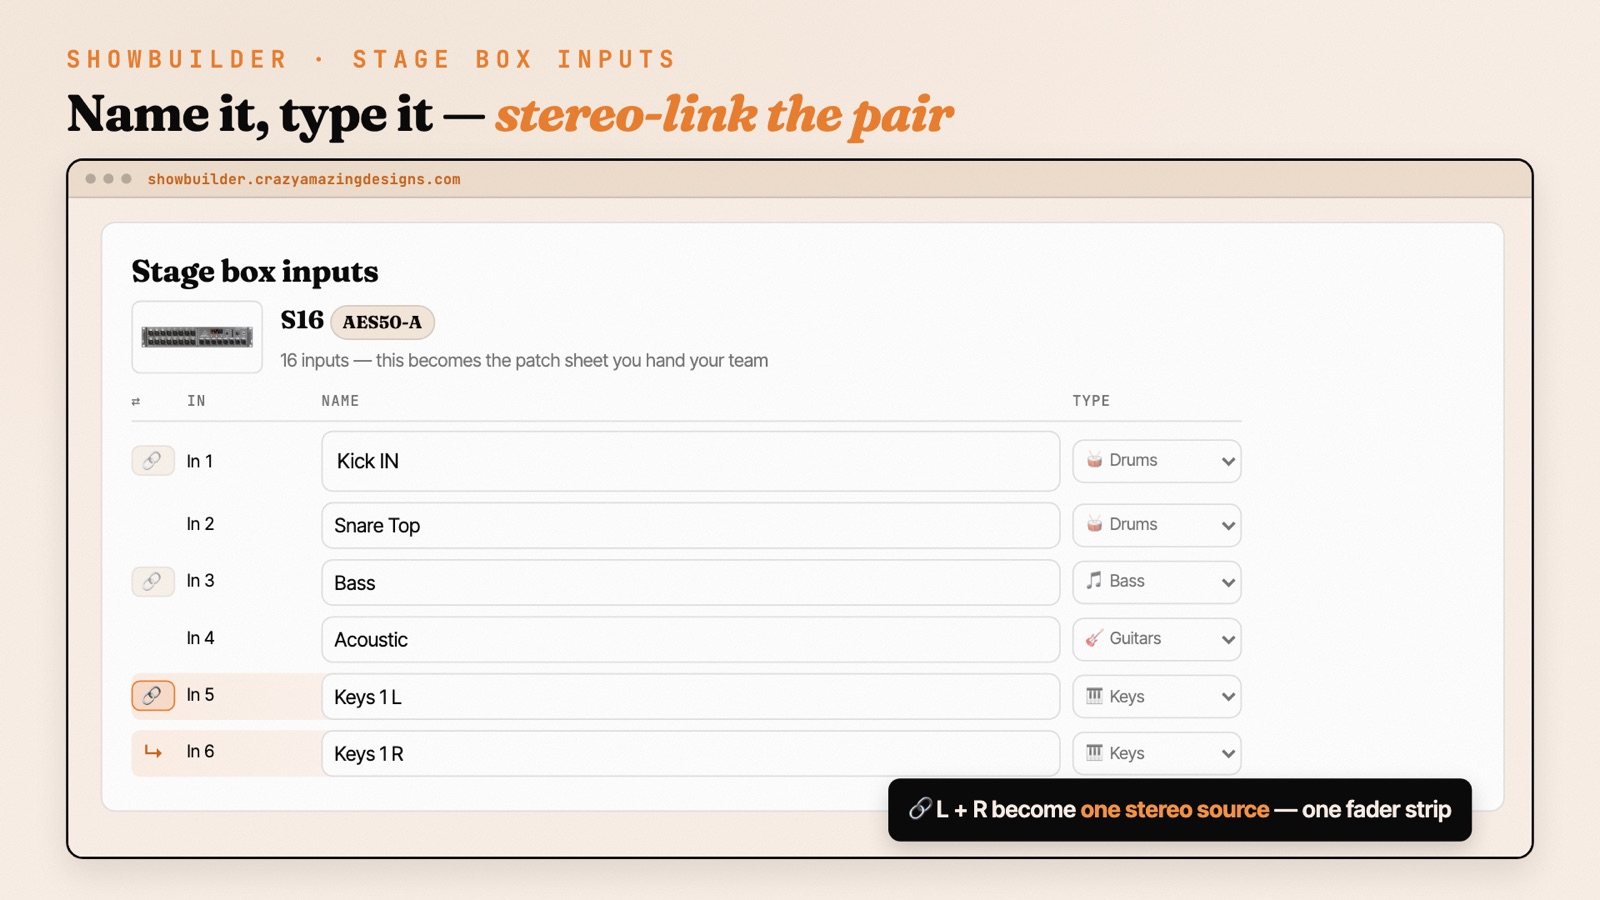
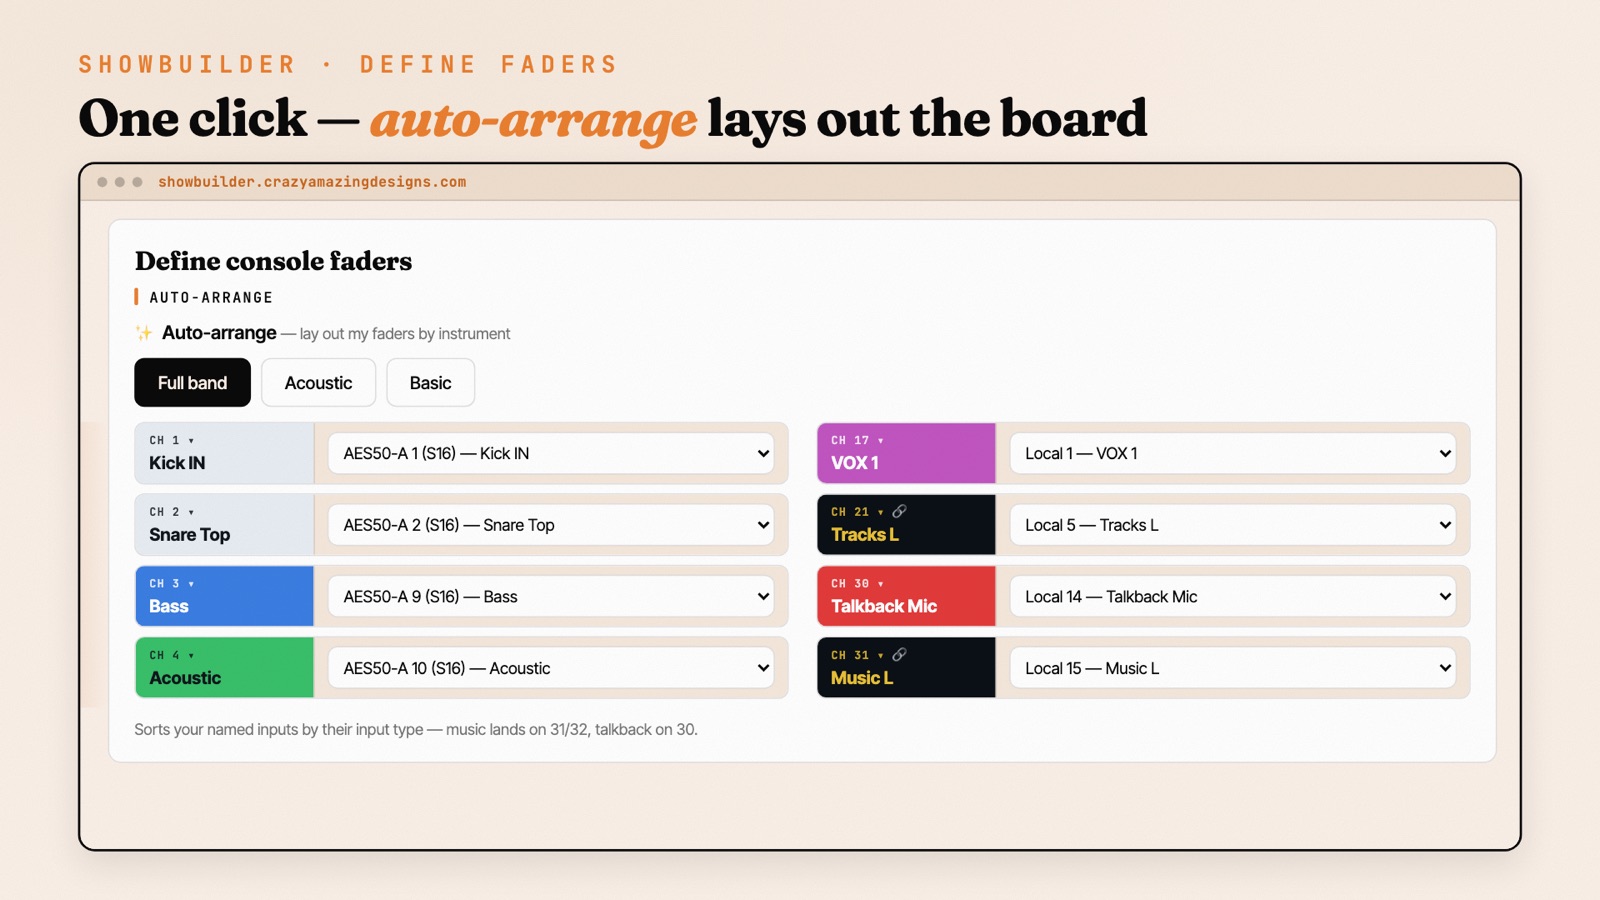
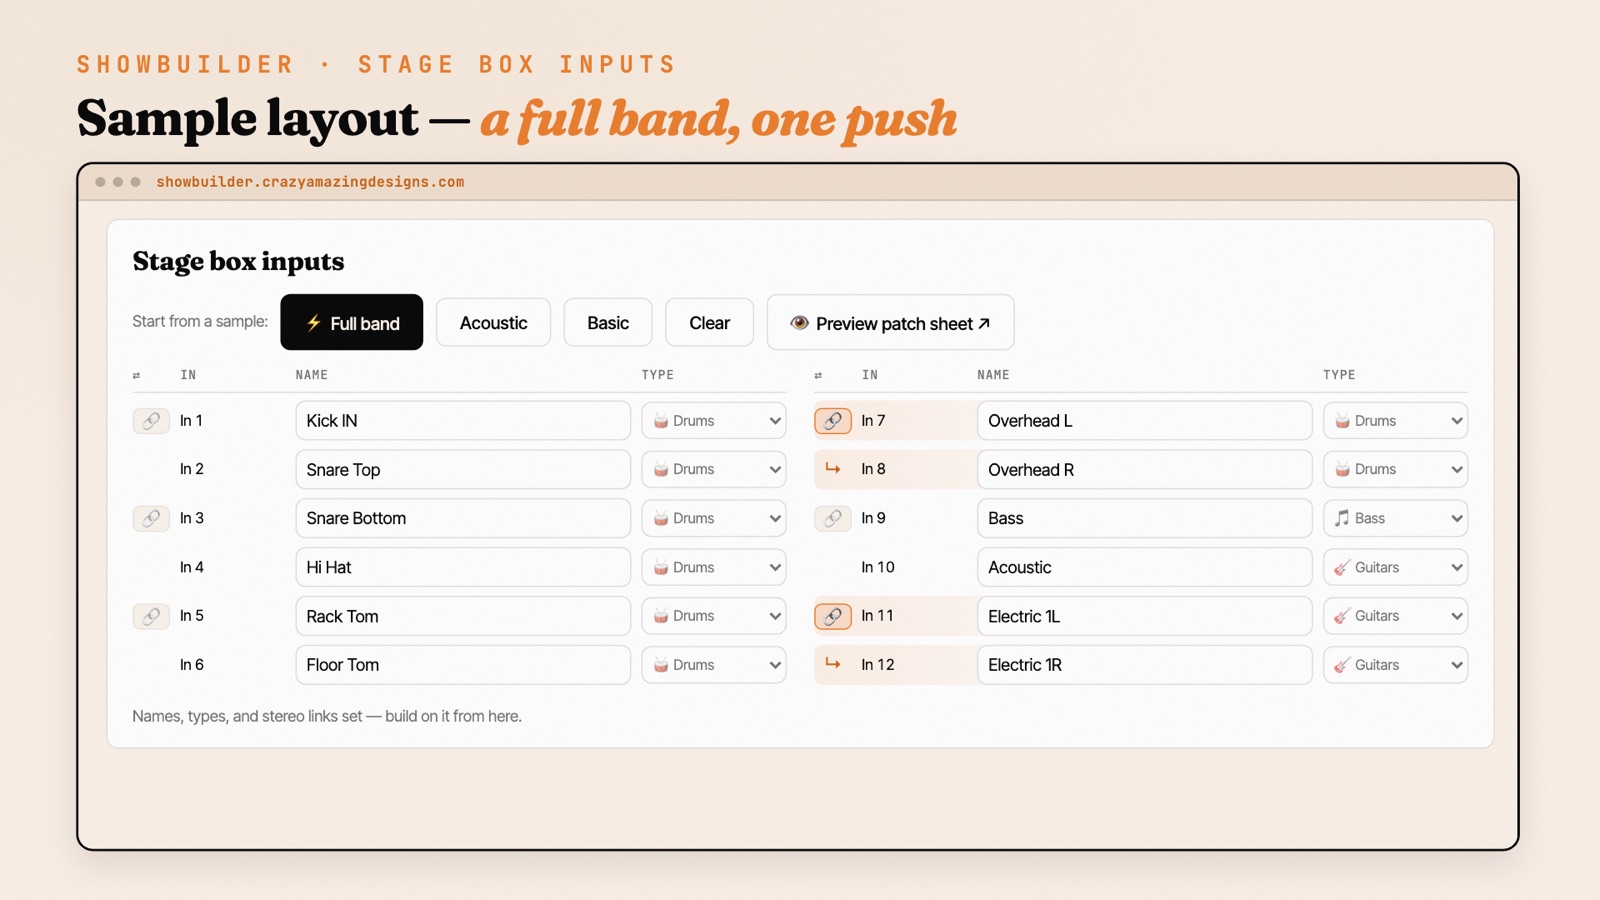
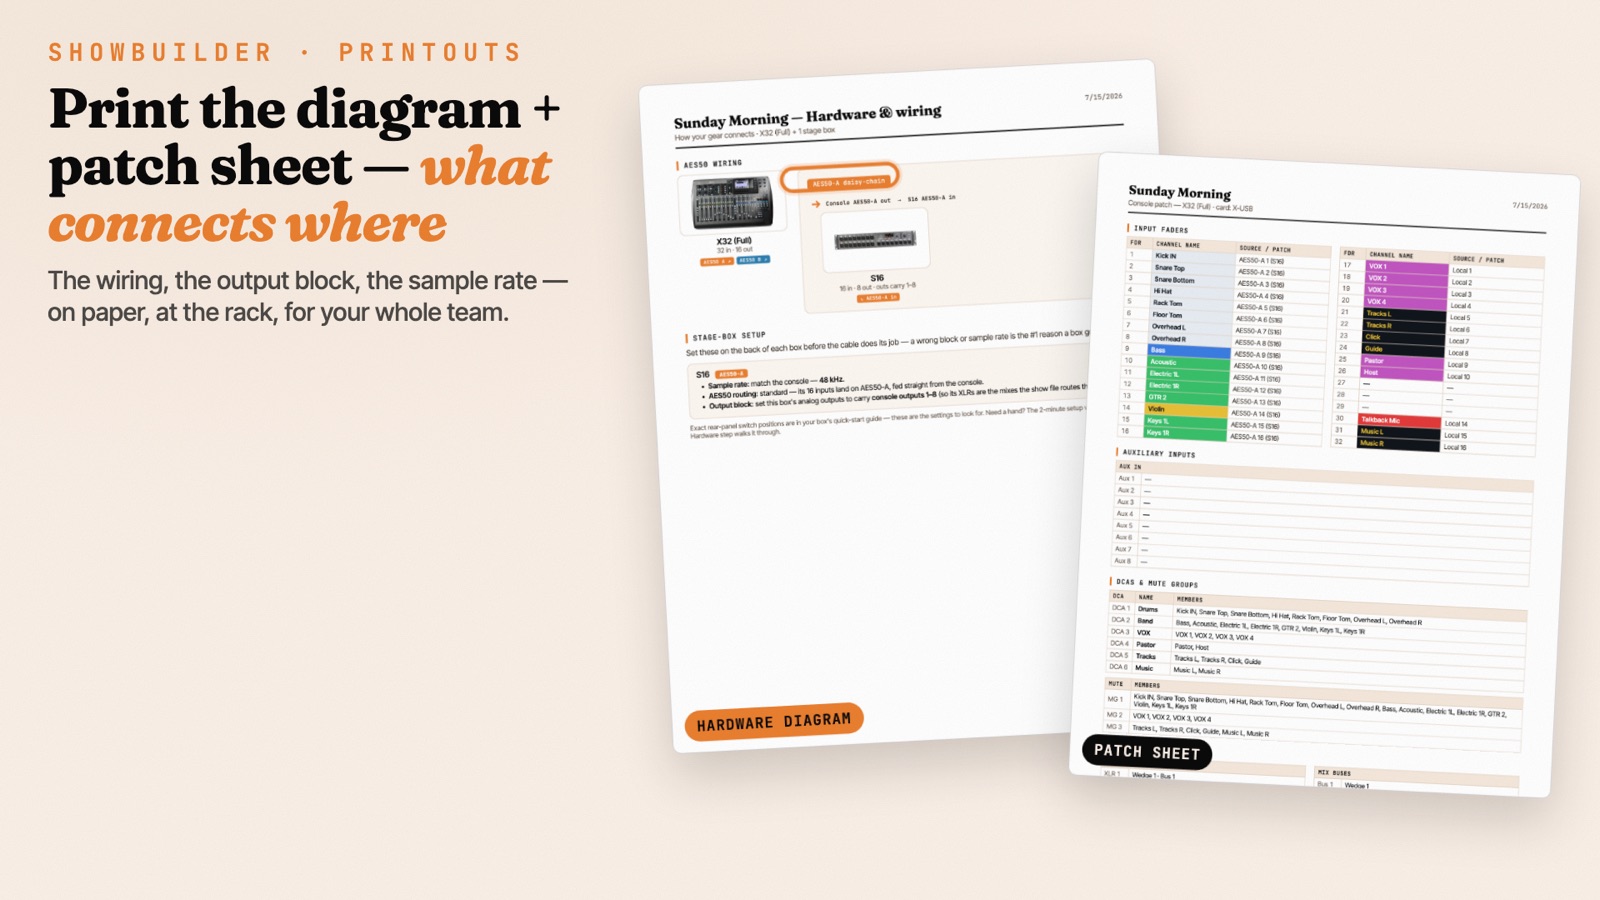
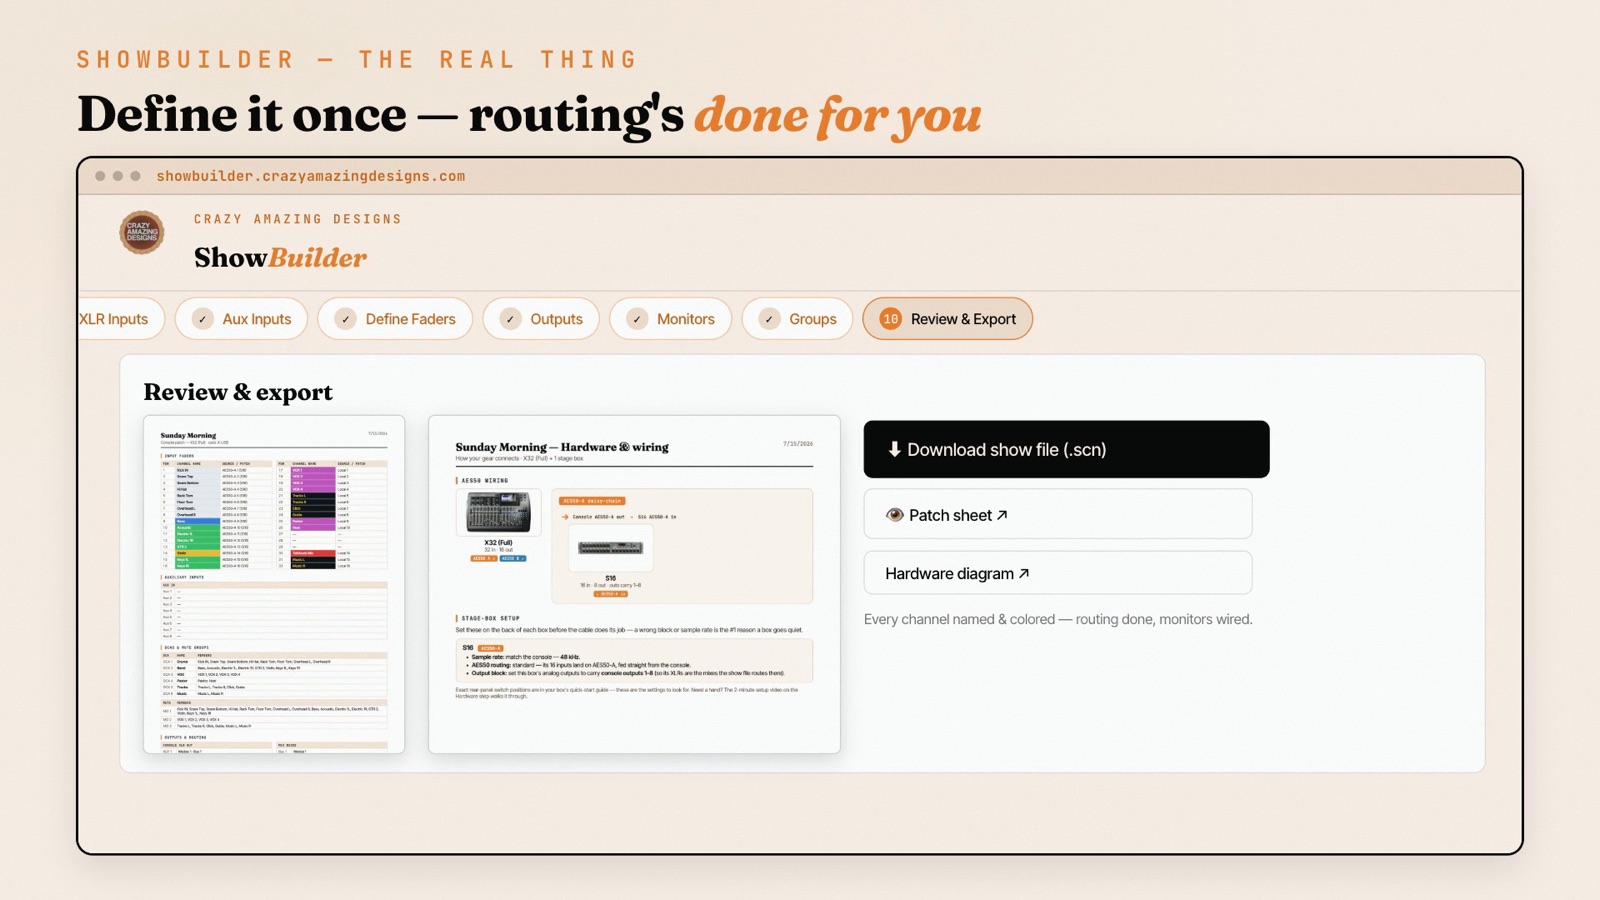
The nice part week to week: the file stays fully editable, so as your team changes you keep building on it — and it prints a patch sheet so the next volunteer knows exactly how the system is wired.
Nervous about that sync question?
Book a session and we'll set up X32-EDIT the safe way.
Share your screen and we'll connect the software to your console, pull your show file in the right direction, and build the scenes and mixes you need on your actual rig. Most of it I can walk you through in a single 45-minute session.
Book a Zoom session →Watch the Full Tour
Here’s the complete walkthrough on the actual software, including the connection and sync steps:
Keep Going
X32-EDIT is where the deeper routing work happens. To get the fundamentals under it:
- The big-picture map: our complete guide to X32 routing and configuration for church audio.
- The input/output layer the software is editing: X32 USER input & output routing.
- Running a second board for monitors? Using the X32 Rack as an IEM mixer and stage box for FOH.
If you’d rather start from a proven layout, our X32 Show File & Routing Master File Package is the file I open X32-EDIT with on every show — and ShowBuilder will build that same file around your exact gear.
More X32 and M32 training is on my YouTube channel: Youtube.com/@CrazyAmazingDesigns.