
Audio · May 12, 2026
X32 USER Input & Output Routing: Send Any Source to Any Channel
How USER input and output routing works on the Behringer X32 and Midas M32 — the one-page method to route any source to any channel, plus the no-sound fixes.
If you’ve ever plugged a microphone into your Behringer X32 and gotten nothing — no meter, no sound, no idea why — the answer is almost always routing. On a digital console, plugging a cable in is only half the job. The other half is telling the console where that signal should go. This guide walks through USER input and output routing on the X32 and M32 from the ground up, so you can send any source to any channel and get audio back out of any jack you want.
This is the routing method I wish someone had shown me when I started. It replaces a dozen scattered settings with a single page — and once it clicks, the whole console gets easier.
Why Routing Trips Everyone Up
On an old analog mixer, channel 1’s XLR jack was hardwired to channel 1’s fader. Forever. Nothing to configure.
The X32 threw that rule out. Here’s the mental model that makes everything else make sense:
On a digital console, the jack you plug into and the fader that controls it are two separate layers. Nothing is connected until you route it.
That’s not a bug — it’s the whole point. Because the connection is software, you can send any input to any channel: a stage-box mic to fader 12, your phone’s music to faders 5 and 6, a click track to channel 30. But it also means a fresh cable can produce total silence until you make the assignment. (And if you’re on a Midas M32, everything here applies to you too — same engine, same software, different preamps.)
Save Your Scene First — Always
Before you touch a single routing setting, save the current scene. This is the safety net that lets you experiment without fear.
Push the View button, tab over to the Scene page, pick an empty scene slot, hit Save, and give it a name. If you’re working on a console someone else set up, this matters even more — you can make any change you want, and if it goes sideways, you just recall the saved scene and you’re right back where you started.
I treat this like hitting “Save As” before editing a document. It costs ten seconds and it has saved me from a very bad Sunday more than once.
The Input Routing Page: Blocks of Eight
Get to routing with the Routing button, then the first tab: Inputs. This page is where you tell the console what physical source feeds each channel.
It’s laid out in four blocks of eight — inputs 1–8, 9–16, 17–24, and 25–32 — plus a column for the aux inputs. Those blocks line up exactly with the fader bank buttons on the surface, which is a nice memory aid: the button that flips your faders to 9–16 controls the same block you’re routing on this page.
A few facts that clear up a lot of confusion:
- A brand-new X32 defaults to Local 1–32 feeding channels 1–32. Straight out of the box, the rear XLR jacks map one-to-one to the faders. That default is exactly why stage boxes surprise people — plug your whole band into a stage box and the console is still listening to its own back panel, which now has nothing in it.
- Your sources depend on your model. A full-size X32 has 32 local XLR inputs; the Compact, Producer, and Rack have 16 local XLRs plus aux inputs. Beyond that you’ve got two AES50 ports (stage boxes) and the card slot (USB or Dante).
- Routing moves in whole blocks. Point a block at a source and all eight channels in it follow together.
The Old Way vs. the USER Way
Before firmware 4.0, the best way to get a specific source onto a specific channel was to change the source at the channel level — select the channel, go to Config → Source, and pick the input. It works, and for a dead-simple setup it’s fine. But it scatters your routing across 32 different channel pages, and the day you need to rewire things, you’re clicking through all of them trying to remember what went where.
Firmware 4.0 added the User In/Out layer, and it’s the method I use on every console now. The idea: instead of the input blocks pointing straight at physical jacks, you point them at a “user” list — and then you assign that whole list from one screen.
Step 1: Point Every Input Block at “User In”
On the Routing → Inputs page, change all four blocks from Local (or AES50) to User In: User In 1–8, 9–16, 17–24, and 25–32.
You’ve just told the console, “For my channel inputs, listen to whatever the user list says.” Nothing else on the Inputs page needs to change again.
Step 2: Assign Sources on the User Tab
Tab all the way over to the User page. On the far left you’ll see the user inputs and outputs. Push the first knob to toggle between inputs and outputs — leave it on inputs. Push or turn the second knob to pick which of the 32 input slots you’re editing (a dash means nothing is assigned yet).
Then set two things: the Category (Local In, AES50 A, AES50 B, Aux, or Card) and the In signal (which specific input within that category). Want local XLR 1 on channel 1? Set input slot 1 to Category = Local In, In signal = Local 1. Talk into the mic and the meter jumps.
That’s the whole trick. Every input assignment for the entire console now lives on one page, and rerouting anything is a two-knob change instead of a scavenger hunt.
No Input Audio? Work This Checklist
When a channel is silent, don’t start yanking cables. Work these in order — it’s almost always one of them:
- Channel source. Home → Config → Source — is it set to the input you expect?
- Routing → Inputs. Are the blocks set to User In (or the correct physical source)?
- Mute. Is the channel muted? (Yes, this one gets all of us.)
- DCA or fader. Is the channel in a DCA that’s muted or pulled down? Hold Select to see which channels belong to a DCA.
- Clock errors. Red boxes on the 44.1k / 48k indicators mean a sample-rate or clock problem. Go to Setup, set the clock source to Internal (unless a stage box should be the clock — more on that below).
- The mic itself. Phantom power off, or an actual mute switch on the mic.
Getting Audio Back Out: The Output Side
Outputs work the same way, in mirror image, across three tabs. Once this clicks, sending a broadcast feed, a monitor mix, or a recording out of the console stops being mysterious.
- The XLR tab decides what feeds the eight physical XLR output jacks on the console. I set these to User Out 1–4 and User Out 5–8 so the outputs, like the inputs, are all controlled from the user list. (If you route an output to a non-local port here, an asterisk warning appears on the Out tab telling you that output isn’t reaching a physical jack — a handy sanity check.)
- The Out tab assigns which mix bus outputs go to the 16 output slots. A common church layout: outs 1–6 fed by mix buses 1–6 (your monitor sends), and 7–8 as the main Left and Right.
- The User tab (outputs side) is where you pick the exact source for each user output — the same two-knob workflow as inputs, but choosing an output signal instead.
One more piece people miss: to actually send channels to a mix bus, press Sends on Faders, select the mix bus you want to build, and your faders temporarily become the sends into that bus. That’s how you build a monitor mix or a livestream mix without leaving the main screen.
Where One Wrong Assignment Hides
Everything above is genuinely learnable in an afternoon. The trouble is scale. A real Sunday setup might be 24 inputs, six monitor mixes, a broadcast bus, and a recording feed — and every one of those is a little assignment across the Inputs, Out, XLR, and User tabs. Get one Category wrong and you get silence with no error message to explain it.
That’s exactly the problem we built ShowBuilder to solve. You describe your gear and your band once, and it writes the entire routing for you — inputs, outputs, user assignments, channel names, colors, and monitors — as a show file you load and mix. Here’s the whole flow:
Scroll the steps →
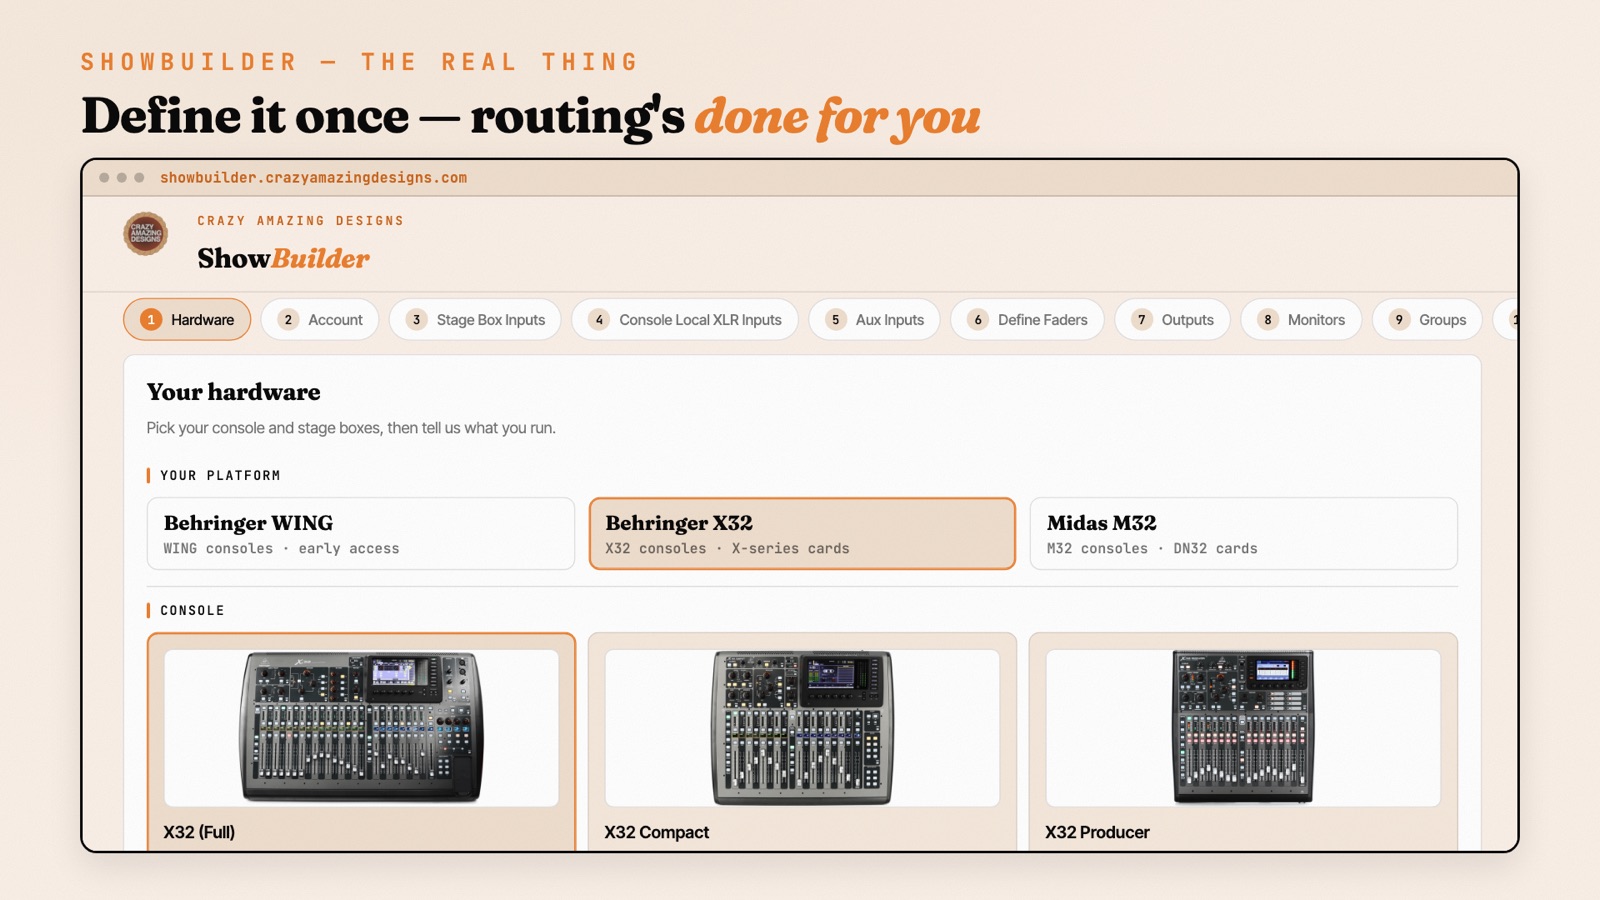
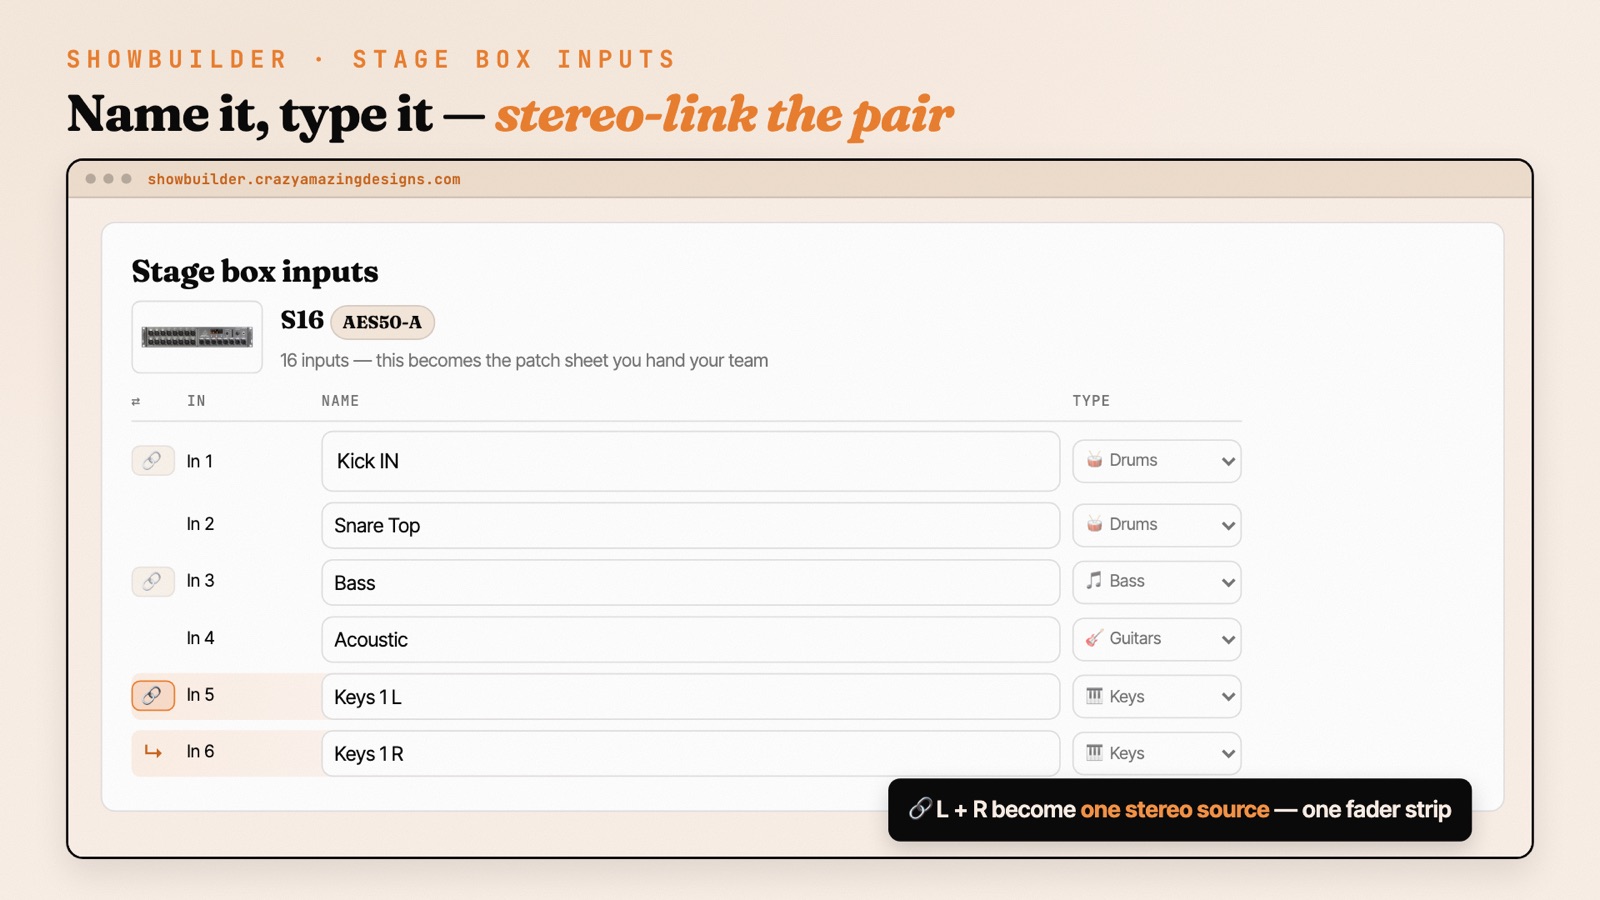
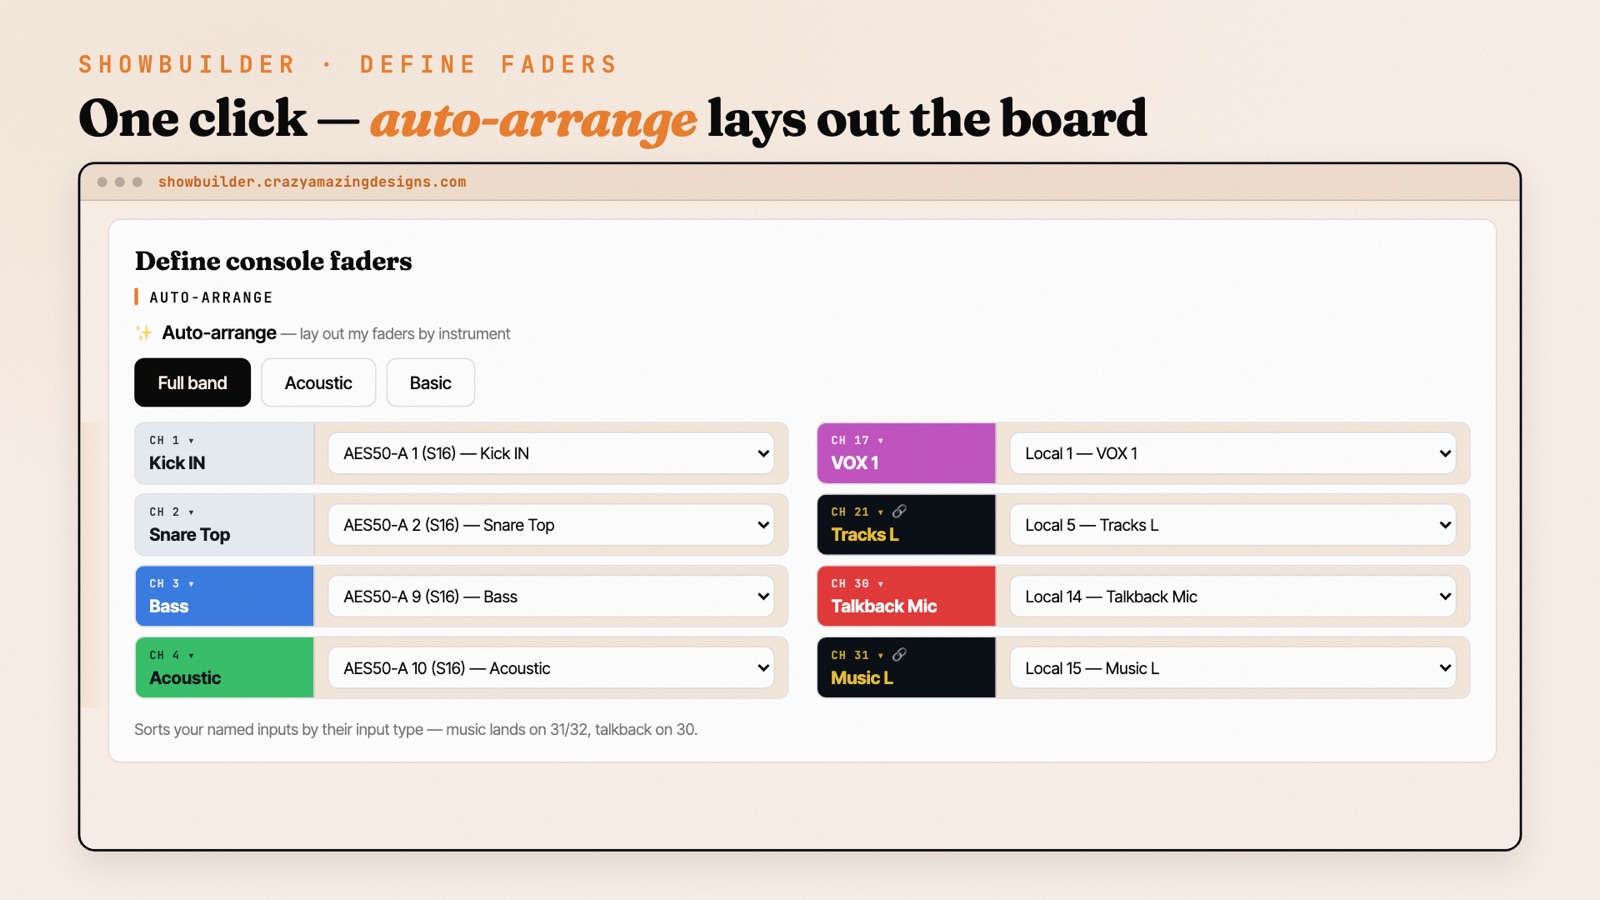
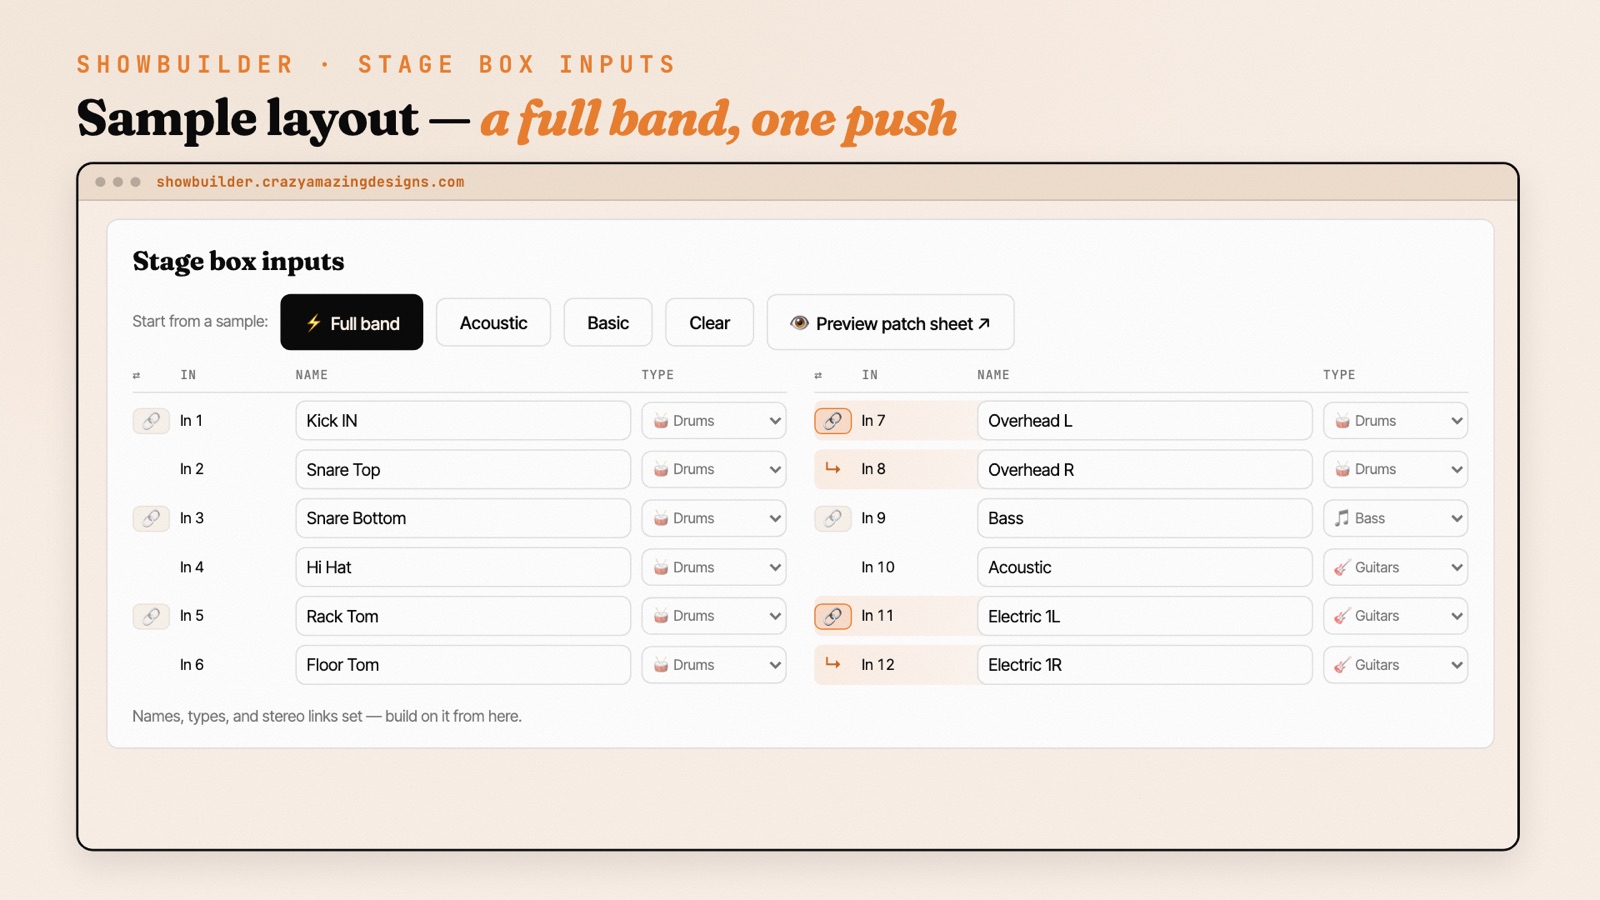
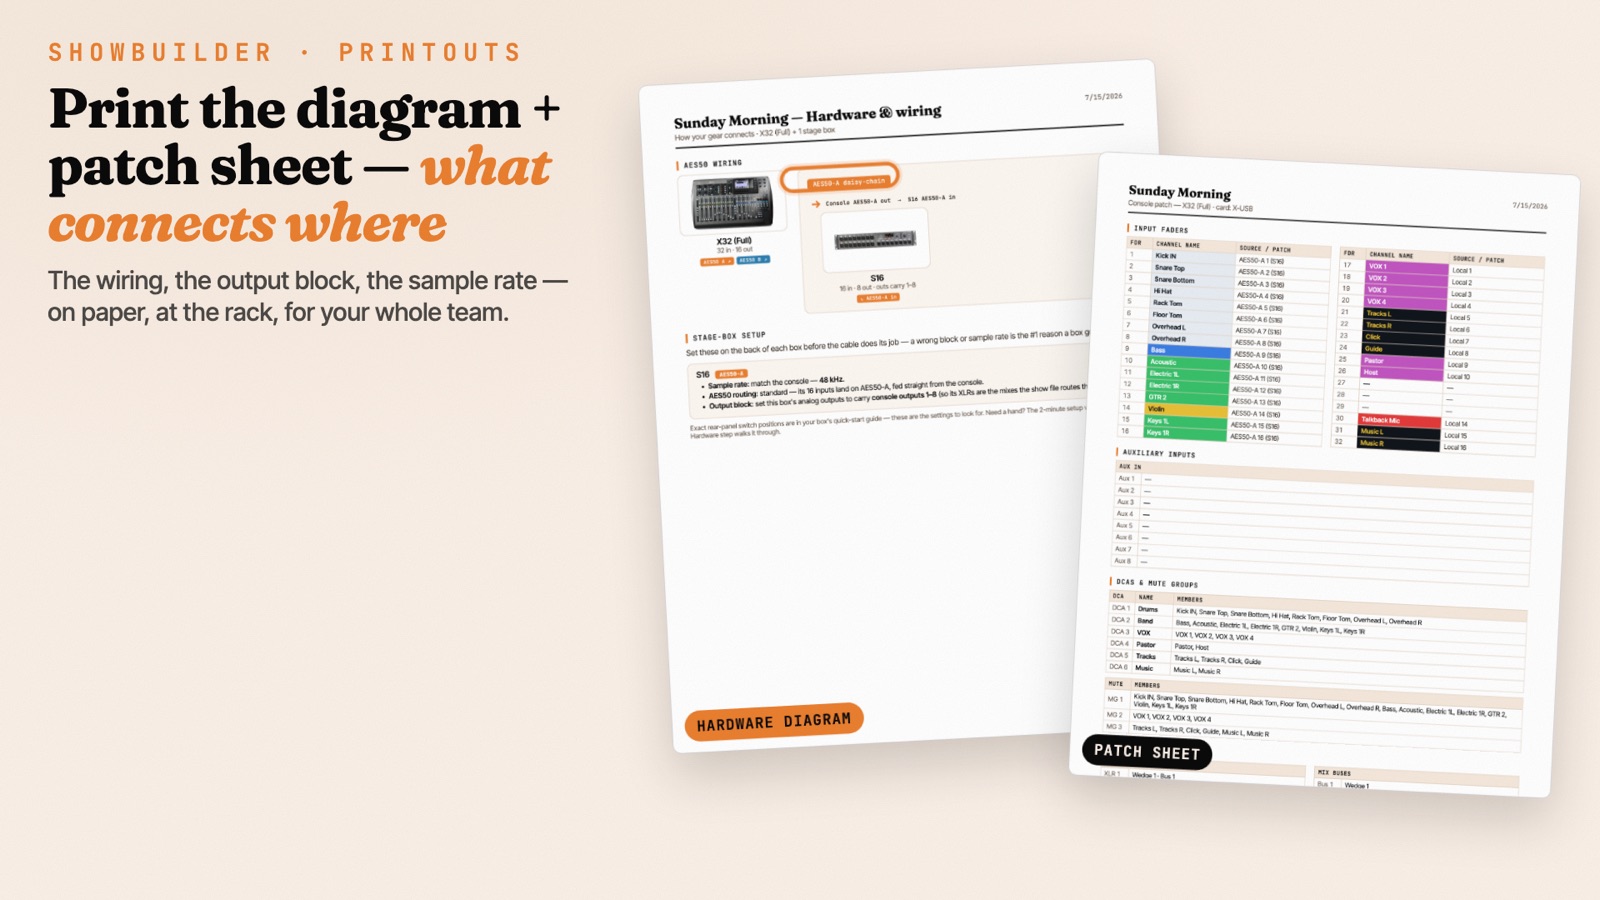
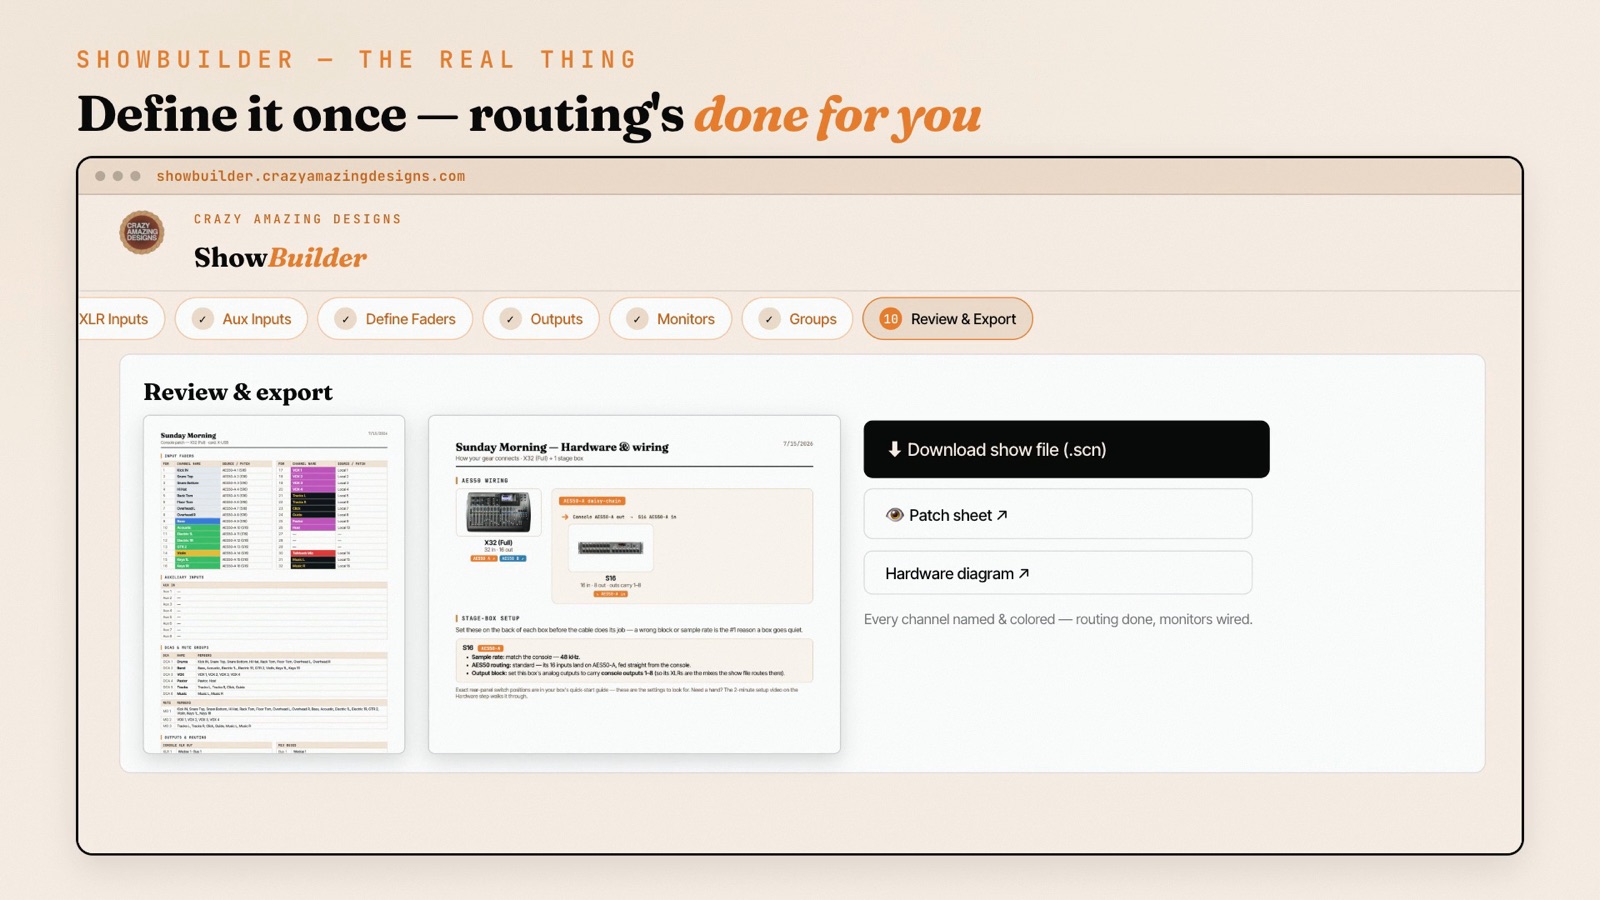
The part that makes it worth it week to week: your show file stays fully editable, so as your rig grows you keep building on the same file instead of starting over — and because the routing prints to a patch sheet, the next volunteer can see how the system is wired without reverse-engineering the console.
Rather not untangle it alone?
Book a session and we'll get your routing making sound.
You share your screen, pull up your own console, and I walk your exact input and output routing with you — then we track down whatever's gone silent. Bring the rig you run on Sunday; most of it I can get sorted in a single 45-minute session.
Book a Zoom session →Watch the Full Walkthrough
I demonstrate all of this — plugging in the mic, saving the scene, setting up user inputs, troubleshooting, and getting the first output working — on the actual console here:
Keep Going
USER routing is the foundation. Once you’re comfortable here, the next steps are connecting stage boxes over AES50 and controlling the console from a computer:
- Start with the big-picture map in our complete guide to X32 routing and configuration for church audio.
- When you’re ready to do serious routing work with a mouse and a full-size screen, see X32-EDIT & M32-EDIT: control your X32 from a computer.
- Running a separate monitor board? Read using the X32 Rack as an IEM mixer and stage box for FOH.
Want a head start? Our X32 Show File & Routing Master File Package gives you a pre-built show file plus a routing cheat sheet on paper — and if you want that same result built around YOUR exact hardware, ShowBuilder does it for you.
More X32 training is on my YouTube channel: Youtube.com/@CrazyAmazingDesigns.